Wednesday, February 1, 2012

Valentine Decor

EDIT:  If you don't have a frame like this and chances are you probably don't, just cover one with some DP or I am thinking that you can get the same effect by taking a white frame and painting the stripes with acrylic paint or even markers!

No Stamping, coloring, etc...today, just some fun Valentine Decor.


I purchased this frame a couple of years ago right after Valentine's Day on the clearance rack at WalMart.  It came as a set of three and I am guessing that I didn't even pay $1 for the whole set.  The opening is only a 3.75" square, so not a whole lot of room to work with or fill up.  I used my smallest Spellbinders heart die to cut out the white hearts.  The colored heart is an epoxy embellishment made by Making Memories that I have had it in my stash longer than I care to admit.  I knew one day that I would use it.  It's actually puffy on both sides, but I found that they easily come apart and then you have 2 embellishments for the price of one.  All the hearts were added to a piece of card stock cut to fit the opening with some dimensional dots.  There you have it, cheap and quick Valentine Decor!  Just a hint....Don't ever throw an old frame away, as you never know when it will come in handy for a crafty project.

I hope that I have inspired you to make something crafty today.

Challenges: 
Die Cuttin' Diva's - Anything Goes
Party Time Tuesday's - Anything Goes
Tuesday Throwdown - Use Hearts 
Use It Tuesday - All About Love (It's all hoarded) 
Die Cut Dreams - Pink and Red and Hearts 
Unstampabelles Challenges - Anything Goes (No Stamps) 
Come and Get It Challenges - Anything but a card 
Corrosive Challenges - I {heart} You 
Allsorts - One or more hearts 
Just Us Girls - 3-D or use a template 
Crafts 4 Eternity - Clean and Simple 
 Fairy Fun Fridays - Anything but a card 
Simply Create Too - Love is in the air 
Delightful Challenges - Valentine's Anything but a card
The Little Red Wagon - Valentine's Day or Love 

Smiles to you!
~pat~


Pin It

Tuesday, January 31, 2012

Get Well Ladybug

Well...Some BAD news and some GOOD news.  First, my 5 year old computer crashed on Sunday and it was a sad day as I didn't back up all my files, but just some of them and pretty much lost everything.  All my digi's are now gone except for the Designed2Delight ones that I happened to backup on my external hard drive a couple of weeks ago.  So the only other digi's I have left are the ones that I had already printed.  But, life goes on and I wasn't about to give up on my computer and on Monday after a lot of thought, I spent the entire afternoon on the phone with a Dell Tech and now....my computer is like brand new.  I lost everything and have to start fresh, but my computer is running like brand new.  I am happy and thankful to the Dell tech that revived my computer and brought it back from the computer graveyard.  So even though it started out bad, it ended up being a very good thing :)

Now on to my card.


I have had this adorable digi, "Little Ladybug" by Whimsy & Stars Studio colored for some time and waiting to be made into a card.  It seems that I never have a get well card when I need one. Now, I have one in my stash ready to be sent.  I used Glossy Accents on the center of the flower and the ladybug's spots and a white gel pen for the highlights on her cheeks.  It's hard to tell from the photo, but there is a black and red button layered in the center of the crocheted flower.  I kept the card simple to showcase the adorable image.

Recipe:
Stamps - "Little Ladybug" (Whimsy & Stars Studio). Sentiment (Innkadinkado)
Paper - The Goods, Rudolph (American Crafts)
Coloring - Copics
Misc - Martha Stewart edge punch, crocheted flower, buttons, floss, Glossy Accents, Rectangle dies (Spellbinders)

Challenges: 
Heart Song Inspirations - Buttons and/or Brads 
Kaboodle Doodles - It's all about Girls 
My Craft Spot - Anything Goes 
Pollycraft - Favourite Things (that would be ladybugs!)
Crazy 4 Challenges - Layer it On 
Make It Colourful - Shade with Reds
Crafts 4 Eternity - Clean and Simple 
Fussy and Fancy - Polka Dots 
Happy Day to You!
~pat~


Pin It

Thursday, January 26, 2012

Pansy Birthday


Today, I am featuring a Whipper Snapper stamp that was created by Faith (Designed 2 Delight, designer) that is called, "Love Blooms".  It's a sweet little pot of flowers.  Living in the south, pansies are prevalent all winter long.  I plant mine in the fall and watch them bloom all winter long, but when the hot weather appears, they start fading away.  

I went with the pansy color scheme for my flowers.  I am loving the combo of the gingham paper with the polka dot ribbon and the addition of the eyelet lace border.  The finishing touch was the little felt flower brad. Once the image was colored, the card was pretty quick and easy to put together. 

I made this special little card for one of my favorite Aunts that will be turning 82 on Saturday.  Not being able to celebrate her birthday with her this year, I am sending her a little card and some yummy chocolate goodies.  Who doesn't love a little chocolate on their birthday? 

Challenges:
Moving Along With The Times - Blooming Marvellous
Paper Crafting Journey - Floral 
Little Darlings Challenges - Polka Dots 
My Mum's Craft Shop - Flowers 
Ladybug Crafts Ink TLT - Bows
Birthday Sundaes - Birthday Card w/ birthday sentiment

~pat~


Pin It

Wednesday, January 25, 2012

Love Bear

Working on my stash of Valentine cards.  I came across this adorable image, "Love Bear 1" by Bugaboo and couldn't resist making a Valentine card.  Pretty clean and simple card and hopefully, mail friendly!  I used a black glaze pen to color in the bear's nose. I think that I will need to make a few more cards using this image.

Recipe:
Stamps:  Love Bear 1 (Bugaboo), Sentiment (Inkadinkado)
Paper - Ka Zoo Collection (K & Co.)
Coloring - Copics
Misc - Oval dies, crocheted flower, floss, black glaze pen, Arrow heart border punch (SU!)
Challenges:
Creative Card Crew - Seeing Red 
Heart Song Inspirations - Red and White and/or Ribbon 
Stamps R Us - Just Kiddin' Around 
The Pink Elephant - Photo Inspiration 
There She Goes Clear Stamps - Love is in the Air
The Poodles Parlour - Valentine /Love Challenge 
Craft Us Crazy - Valentine/Love and /or Animals 
Happy Day to You!
~pat~

Pin It

Friday, January 20, 2012

Designed2Delight January Reveal Blog Hop

 It’s the January Reveal of our NEW Release of digital stamps, and digital designer papers.  We are having a Design Team Blog Hop to show off all the new, cute images.

You should have arrived here from Debbie's Blog.  If not, here is the beginning.

Just to let you know this is going to be a long post as I have 6 different designs to share with you.  I am not going to go into detail on each one.


 "Precious Gift" and " Pure Love" DDP

"Lucky Dog" and "Pure Love" DDP

Inside of "Lucky Dog"


I hope you stuck with me until the bottom of this post.  If you didn't start at Delightful Inspirations, go there and see the links to all the other Design Team designs with all the new images. There is a surprise for you, too and it's only good for 24 hours.  Your next stop is KIM.


If you have any questions about any of my cards, please let me know.  I didn't go into great detail on each of the card.

Thanks for stopping by and have a great weekend!
~pat~

Pin It

Tuesday, January 17, 2012

Snow Friends Thank You


I used the same digi, Snow Friends by Whimsie Doodles for my Christmas Thank You notes that I used on my Christmas cards.  Once again, I kept the design on the simple side.  It's a fun digi to color and mass produce.  I went with a blue theme instead of red, like I did on my Christmas cards and just changed out the sentiment.  Of course, I had to add a little snowflake with a blue brad in the middle.  Well, here we are in the middle of January and I am staying on my "stay organized" plan.  So far, so good!

Recipe:
Stamps - Snow Friends (Whimsie Doodles), All Holidays (SU!)
Paper - The Paper Studio
Coloring - Copics
Misc - Black ink, Snowflake, brad, Square and Lacy Square dies (Spellbinders)

Challenges:
Crafty Cardmakers - No Floral Embellishments
Kaboodles Doodles - Baby It's Cold Outside
My Craft Spot - Winter Wonderland
Di's Digi Designs - Thank You
Fussy and Fancy - Let It Snow
Stuck On U Sketches - Winter Fun Die Cuts
Sarah Hurley Challenges - Giving Thanks/Thank You

Thanks for stopping by!
~pat~
Pin It

Saturday, January 14, 2012

Delightful Inspiration Saturday Challenge

It's Saturday and that means...the last Saturday DT Challenge for Delightful Inspiration.  I am the host this week and since today is exactly one month until Valentine's Day, I chose "hearts" as the challenge.  It's time to get started making Valentine cards, gifts, etc...


This is a simple, mass-producible card and it is also, mail friendly.  I just love this digi and it's so quick and easy to color.  I just added some DP and a doily that you can find in the baking aisle.  You should be able to find them easily this time of year with all the Valentine displays that popped up overnight as soon as Christmas Day was over.

Recipe:
Stamps - Cupcake Love Ya
Paper - Trick or Treat Polka Dots (The Paper Studio)
Coloring - Copics
Misc - Doily, Glossy Accents

Challenges:
Pixie Dust Studio - Put Your Heart Into It
I Brake For Challenges - I Brake for Simple!
I couldn't stop at one and used a retired digi.

"Simple Valentine"

I paper-pieced the heart-flower, added some DP, scalloped borders, stitching, buttons and ribbon to a premade Cricut tag.
I used the Heart Blocks EF on the card base.

Recipe:
Stamps - Simple Valentine (D2D), Greetings (Heidi Grace)
Paper - Ka Zoo Collection (K & Co.)
Coloring - Copics
Misc - Buttons, floss, Scallop border punch (SU!), Tag (Cricut George), Hole reinforcer, ribbon, Heart Blocks EF (Provo Craft)

Challenges:
Pixie Dust Studio - Put Your Heart Into It
Paper Play - In Stitches
The Pixie Cottage - Sketch and/or Stitching

Hop on over to the Delightful Inspiration Blog and check out some more "heart" projects and play along with us with a chance to win a free digi of your choice.

Thanks for stopping by!
~pat~
Pin It

Tuesday, January 10, 2012

Try It Tuesday

Delightful Inspiration is full of changes for 2011 and one of them is the "Try It Tuesday" post.  Today's theme was altering a food container.  I couldn't resist making something fun for Valentine's Day.

I started with a Quaker Oats container and ended up with this...


1. Measure the height and diameter of your container.

2.  Cut DP to fit and attach with "Sticky Tape" or "Red Line Tape".  You want your DP and embellishments to stay attached.

3.  Decorate as desired with border punches, ribbon, etc...

4.  Select an appropriate digi or stamp, color and decorate as desired, attach to the container.  I used "Love Ya Cupcake".  It was perfect for Valentine's Day.

5.  Measure the lid and attach DP or card stock paper.  I used a circle die cut that was the same size as the lid. Decorate as desired.  I used a homemade felt flower that was made with 5 circles of felt of graduating sizes, sewn together and attached.

I love how the top of the oatmeal box fits snug.  I can't wait to fill it with lots of Valentine's treats and give it to someone special.

Hop on over to the Delightful Inspiration Blog and check out some more great altered food container  ideas.

Recipe:
Stamps -Love Ya Cupcake (D2D)
Paper - Ka Zoo Collection (K & Co.), Anna Griffin
Coloring - Copics
Misc - Ribbon (American Crafts), Liquid Applique, felt, Apron Lace border punch (Fiskars), Circle die cuts (Spellbinders)

Thanks for stopping by!
~pat~
Pin It

Saturday, January 7, 2012

Winter Flowers

Theme:  Winter Flowers


I guess, Winter Flowers depends on where you live.  In Alabama where I live it would be pansies.  They bloom all winter long, but I decided to go with the Poinsettia.  It reminds me of the holidays and winter.  I went a little different direction and colored mine blue.  The DP (some really old stuff from The Paper Studio) reminded me of snowflakes and snow swirling around.  I kept my card clean and simple and wanted the flower to be the main focal point. 

Hop on over to Delightful Inspiration and check out some more great DT creations.  Play along with us for a chance to win a free digi.

Recipe:
Stamps - Poinsettia (D2D), Sentiment (Rubber Soul)
Paper - The Paper Studio
Coloring - Copics
Misc.- Swiss Dots EF (Provo Craft), Apron Lace Edge Punch (Fiskars), Corner Rounder punch (EK Success), Sheer Ribbon, Black Ink

CHALLENGES:
Stamp, Scrap and Doodles - Winter Something
Sweet Stampin' - Spots and Dots
Simply Create Too - Layers, Layers and more Layers
Do You Stack Up? - Let it Snow
I Brake For Challenges - Clean and Simple
Heart Song Inspirations - Anything Goes
My Craft Spot - Winter Wonderland
Stamps R Us - What Did You Get for Christmas or Anything Goes
Crafty Emma - Anything Goes
Happy Saturday to You!
~pat~
Pin It

Friday, January 6, 2012

Christmas Organization

Here is the little Christmas planner that I made to keep myself on track during the Christmas season and the best part....everything was in one place.  I don't know about you, but I usually have coupons, lists and receipts everywhere and can never find any of them when I really need them.  This year was wonderful and I will  plan on making a new one every year or possible altering this one to just change the date for next year.


Here is the outside cover  that is really just an altered composition book.  This is the same image that I used on the last post to make my Christmas Card Keeper.  The download for the design can be found here at the Eighteen25 Blog.  They have the coolest ideas and great FREE downloads. 


 Here is the inside cover.  I just used some white 6" x 9" envelopes to hold all my coupons.  It was very nice to  have all my coupons in one place.


Here are all my tabs...I had the following, Calendar, To Do, Gift List, Menu/Recipes and Cards.  The patterned paper and pre-made tabs were from a kit from s.e.i called, Smarty.


And last, but not least the inside back cover where I kept all of my receipt corralled.

This was one of the best organizational crafts that I have ever done and I will not go another Christmas season without one.  It kept me very organized and on track with one of the most stressless holiday seasons ever.  A big Thank You to Eighteen 25 Blog.

Happy weekend to you!
~pat~


Pin It

Tuesday, January 3, 2012

Christmas Card Keeper


I never know what to do with my Christmas cards after Christmas is over.  I usually just put them in a box with the Christmas decorations and there they stay.  Well...this year I saw a really cool idea on pinterest and decided that since I started a "new life" in 2011 when I got married that I would start some new traditions with my new husband.  I made a cute little card keeper to showcase the cards year after year.  It will be fun to go back and read the cards again every year.

I made a front from chipboard and some DP.  The snowman image is a freebie printable from  the Eighteen 25 blog that I used to make my holiday organizer that I will post soon.  I just punched 2 holes in each card on the left side and added the binder rings and of course, some ribbon. I am looking forward to continuing this tradition every year to showcase my Christmas cards and it will be fun to go back and look at them year after year. 

Recipe:
Image: Freebie (Eighteen 25 Blog)
Paper:  Green Gingham DP (D2D), Sugar Plums Collection (Recollections)
Misc:  2 Binder Rings, assorted ribbon, Scallop edge punch (SU!), Lacey Scallop dies (Spellbinders), Tag Sticker (Doodlebug Designs), Glitter Alphabet Stickers.


Challenges:
Unstampabelles Challenges - Anything Goes (No Stamps)


Happy 2012 to You!
~pat~
Pin It

Friday, December 23, 2011

Naughty or Nice?

Snowman Poop

"Heard you've been naughty so here's the scoop -
all you get for Christmas is Snowman Poop."

This is a fun and quick project for your friends and family for Christmas.  It's a freebie design from Whimsie Doodles and it's quick and easy to make in multiples.  There is a box of Tic Tac's attached inside.  Just a FYI...if you are going to make these, don't buy the individual boxes of Tic Tac's at the checkout lane.  Go to the candy section and buy the multi (4) pack for much cheaper.

I used scraps of card stock, DP and ribbon to make these.  Let me know if you need directions.

'til next time,
~pat~
Pin It

Thursday, December 22, 2011

2011 Christmas Card

Here is my 2011 Christmas Card Design.
  It safe to post now that I know everyone has received their cards.

I love snowmen and this digi from Whimsie Doodles is my all time favorite snowman design.  It was perfect for my Christmas cards this year and it was an easy design to mass produce with just a little coloring.  I hope that you are making the Christmas season bright!

I ran out of DP and had to make a second version with different DP.
Same design just different DP.


Recipe:
Stamp - Snow Friends (Whimsie Doodles), Holiday Cheer Messages (Hero Arts)
Paper - Sugar Plums Collection (Recollections)
Coloring - Copics
Misc - Circle Nesties, Apron Lace punch (Fiskars), Black Ink, Felt Snowflakes (SU!) and red brad.

Challenges:
Little Miss Muffet Challenges - Anything Goes


'Til next time
~pat~
Pin It

Wednesday, December 21, 2011

Merry Pear Christmas Tree

Designed2Delight Designer's Challenge


I am loving this pear tree design from D2D.  I went a little different with colors for a Christmas tree with the green and yellow.  I trimmed my tree with lots of brads.  Hop on over to the Delightful Inspirations blog and join us for this challenge and a chance to win a free digital image.

Recipe:
Stamps - Pear Christmas Tree (D2D), Sentiment (Katie & Co.)
Paper - Lemon Flower Matstack (DCWV)
Coloring - Copics
Misc - Square nesties, brads, Spica glitter pen and Apron lace punch (Fiskars).

Wonderful Wednesday to You!
~pat~


Pin It

Thursday, November 24, 2011

Blessed Thanksgiving


The truest measure of our Thanksgiving
is how we use the blessings for which we give thanks.

Thanksgiving blessings to you and yours!

~pat~
Pin It

Friday, November 18, 2011

Wedding Thank You's


Just a real simple thank you note to match our real simple wedding.  I pulled out a stamp set by Hero Arts, that I haven't used in a long time, Sweet & Simple Patterns.  It comes with 4 different stamps.  I used a rectangle die to cut out the stamp and used the matching scalloped die to add a bottom layer.  A tiny flower punch with a mini brad in the center finished off the note card which was embossed with the Polka Dot EF.  These were easy and quick to make and very cost effective to mail.

Later...
~pat~
Pin It

Wednesday, November 16, 2011

Thanksgiving Blessings


Yea...Me!  Thanksgiving cards made and mailed!!  I am trying to turn over a new leaf and mail out all those cards that I make with the intention of mailing instead of, OOPS...there they sit in my craft room. 

I made this card with the intention of mass producing and mailing with a regular stamp.  I kept it simple, with no bulk.  GEEZ...mailing a bulky card costs are outrageous and when you are mailing around 20 Thanksgiving cards, they need to be able to be mailed with just one little regular stamp. 

I started with a Kraft card stock card base and added strips of DP and a piece of embossed card stock.  The sentiment was stamped and punched out with SU! punches. I sometime tend to forget about my punches and always reach for my dies. It's time to give a little love to the punches.  I absolutely love this D2D design, Stitched Pumpkin.  It was perfect for my simple, little card.

Recipe:
Stamps - Stitched Pumpkin (D2D), Thanksgiving Blessings (Printworks)
Paper - Pumpkin Pie (American Crafts), Amber Autumn (DCWV)
Coloring - Copics
Misc - 1 1/2" circle and scallop punch (SU!), Just My Type EF (Provo Craft)

Challenges:
Celebrate the Occasion - Must use a punch!
Hooked on Craft Challenges - Something Punched
Kaboodle Doodles - Thanksgiving
Crafting for all Seasons - Thanksgiving, Thanks or Sketch
Freshly Brewed - I am Thankful
I Brake for Challenges - Four Seasons (Fall is my favorite!)
Sentimental Sundays - Thanksgiving/Thank You
My Sheri CRAFTS - Be Thankful
Card Makin' Mamas - Be Thankful

Happy Wednesday to You!
~pat~


Pin It

Saturday, October 29, 2011

Pumpkins

EDIT:  I guess I cannot guarantee a pre-post on Blogger.  This post was scheduled for Saturday morning and I just realized today (WEDNESDAY!!) that it had never been published.  So Sorry.  I will have to keep a closer eye on my pre-posts.

Delightful Inspiration's Saturday Challenge

It's my week to take a turn being the host and coming up with the challenge theme.

Pumpkins, pumpkins everywhere...We are almost finished with Halloween and getting ready to celebrate Thanksgiving and pumpkins are still quite popular through the month of November. Make a card or project that includes at least one pumpkin.


I am inviting you to play along with us at Delightful Inspiration this week.  Go ahead and get a head start on your Thanksgiving cards or maybe a fall card just to let someone know that you are thankful for them.  I used the "Stitched Pumpkin" digi from D2D, but as I was looking through the store, there are quite a few different pumpkin images that would have worked.  It was a tough decision, but this one won out. 
 
Recipe:
Stamps: Stitched Pumpkin (D2D), Sentiment (Hampton Arts)
Paper: Debbie Mumm Harvest & Holiday Collection (DCWV)
Coloring: Copics
Misc: Oval die (Spellbinders), Ticket Corner punch (SU!), button, floss.
 
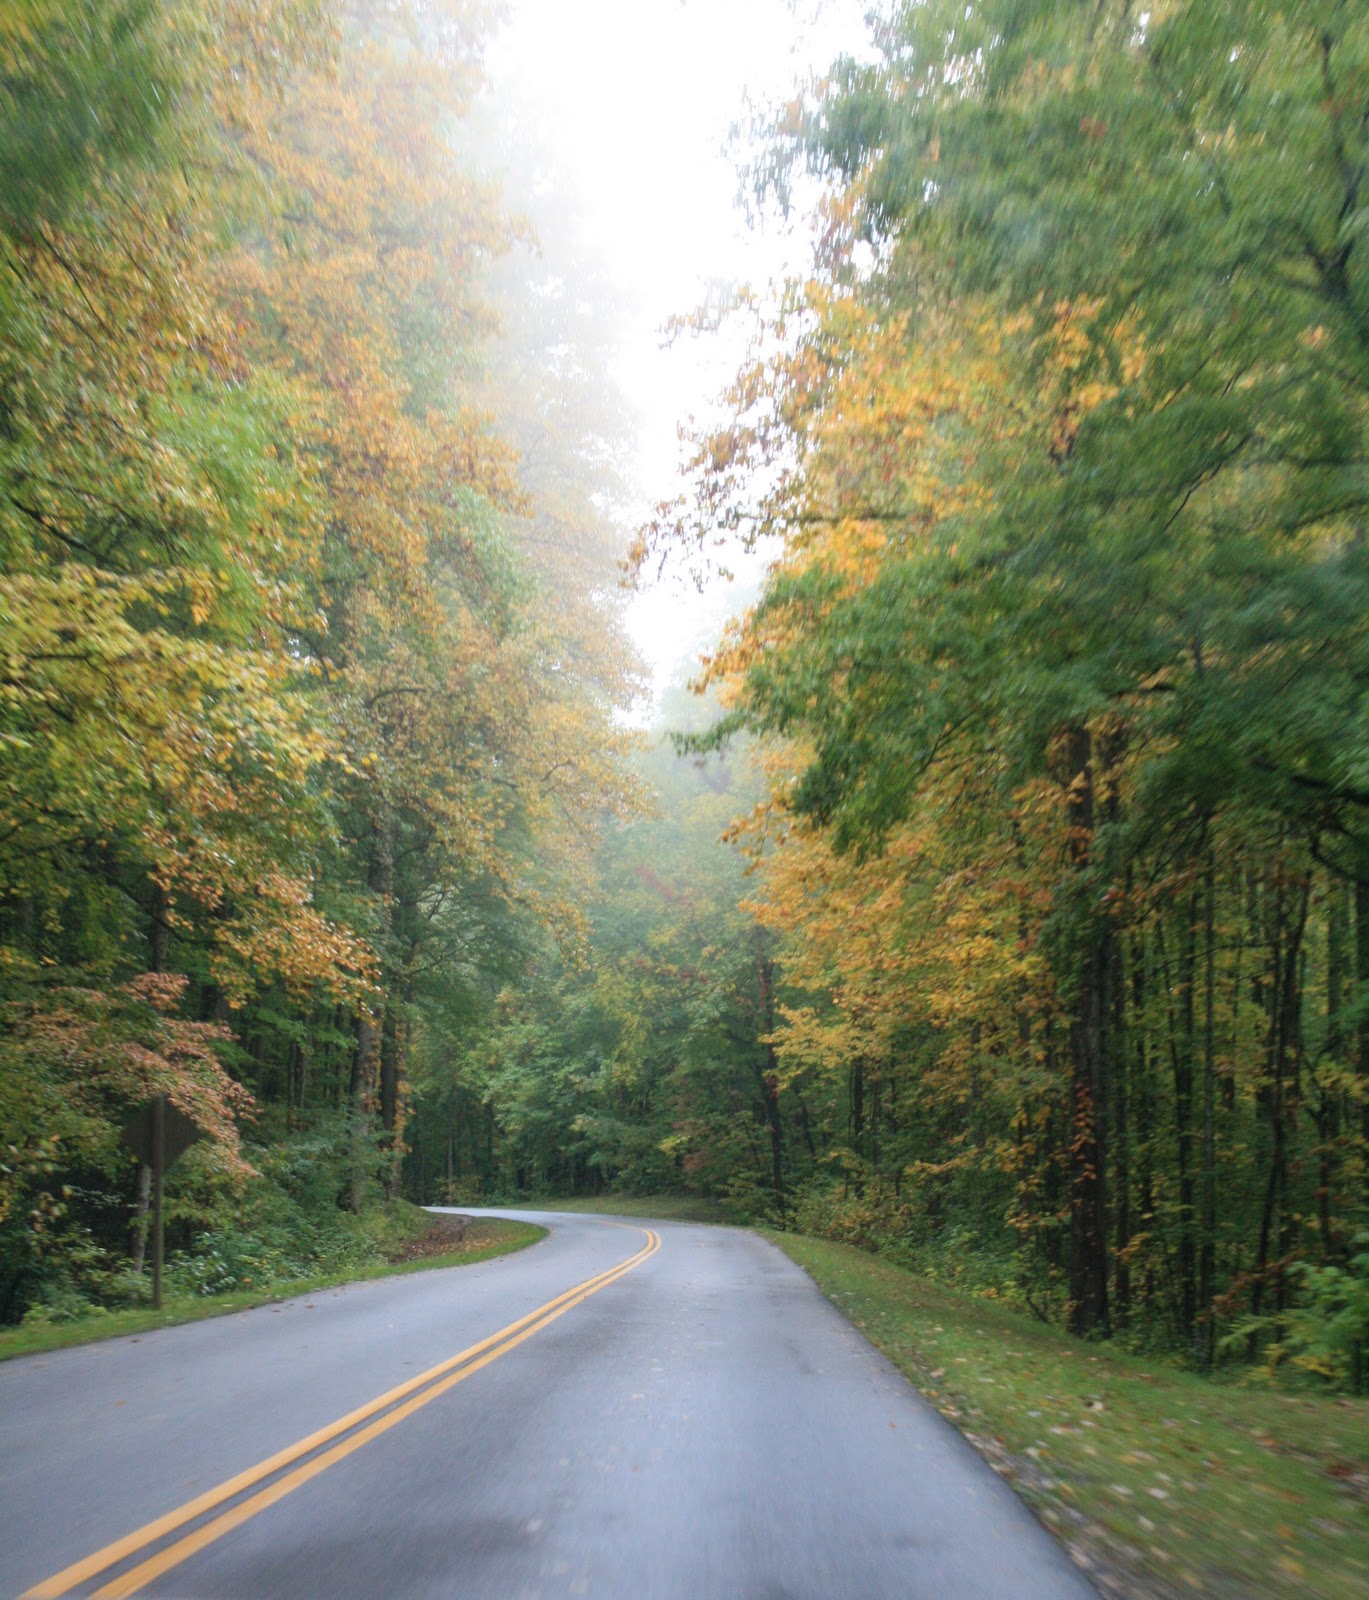
Just a personal note to let you know that I ended up taking more time off from my blog and creating than I had planned.  I married my best friend, Rob in The Smoky Mountains on October 11th and we spent a wonderful week exploring the wonderful sites that the Gatlinburg area has to offer.  The Fall foliage was outstanding and I was able to get some breath-taking photos.


The Smoky Mountains were as smoky as ever!

A wonderful weekend to you!
~pat~

Pin It

Wednesday, October 5, 2011

New Home

"Home"

A simple little new home card.  I kept the design pretty simple since it will most likely go to a couple.  I absolutely love this house design by Whimsy & Stars Studio.  A cute little house on a hill surrounded by lots of trees...now that is my kind of home! I added Glossy Accents to the heart.

Recipe:
Stamps - Home (Whimsy & Stars Studio), Sentiment (Heidi Grace)
Paper - Black & White Collection (Making Memories)
Coloring - Copics
Misc - Brads, Glossy Accents, Square dies (Spellbinders), Blue ink (sponging)

A quick post today...lots to do this week and not enough hours!
~pat~ 
Pin It

Monday, October 3, 2011

Bubble Fun


Happy Monday!  I hope you had a fun, relaxing weekend and if you are a card maker, I hope you had time to make lots of cards in honor of World Cardmaking Day.  I did get a few done and this is one of them.  I have been looking for a cute bubble bath image and this one, "Bubble Leah" from Whimsie Doodles was the final choice.  I colored it all pink and cute with my Copics.  I added Glossy Accents to the bubbles and the glass.  The bubbles on the sentiment are clear dew drops and I have had them forever and that is no exaggeration.  I had to have them years ago when they were so popular and never, ever used one of them.  I was looking for an accent for the sentiment and they made perfect bubbles.  Two sentiments are included with this digi.  Nothing better than a nice, relaxing bubble bath :)

Recipe:
Stamps - Bubble Leah (Whimsie Doodles)
Paper - Ally's Wonderland (S.E.I)
Coloring - Copics
Misc. - Lattice deep-edge punch (MS), Square & Oval dies (Spellbinders), Glossy Accents, Dew Drops
Challenges:
Lexi's Creations - Pink for Boobies
The Crazy Challenge - Think Pink
Pile It On - Do It For Fun!
Hiding In My Craft Room - Pink
My Sheri Crafts - Think Pink
Stampin' For the Weekend - What a Cutie
Paper Crafting Journey - Die Cuts and/or punches
The Paper Shelter - For the Girls
Going Grey with Scrap-Creations - It's a Girl Thing!
Jen's Digi Stamps - Let's Hear it for the Girls!
Inspirational Card Sketches - Sketch
Happy Monday!
~pat~
Pin It

Tuesday, September 27, 2011

Whoo...


Another one of Faith's adorable Whipper Snapper designs.  I am really liking the red, brown and green color combo and need to remember to use this combo again.  I always think of Christmas with red and green, but when I added in the brown, it was just what I was looking for.  I found the felt leaves in the Fall section at Hobby Lobby.  They came in 3 different colors per package and are really thick.  Not having any "Owl" sentiments, I created my own on the computer.  I used my much loved "Leaves" EF and a piece of Faith's Homespun Christmas DP, Red Plaid.


Recipe:
Stamps - Whoo Loves You (Whipper Snapper)
Paper - Red Plaid (D2D)
Coloring - Copics
Misc - Leaves EF (The Paper Studio), Rectangle die cuts (Spellbinders), felt leave, button, floss, corner round punch (EK Success)

Happy Tuesday to You!
~pat~

Pin It

Saturday, September 24, 2011

Birthday Mouse

Good Saturday Morning...

I am the host for the Saturday Challenge today at Delightful Inspiration.

Be a "Die Cut Diva" and get out all those die cuts that you just had to have and get busy creating.  Use at least 2 die cuts and the more the merrier!  If you don't own any die cuts, you can use punches.  Share your creations with us!


This is a great image and includes a girl and a boy mouse plus some sentiments, too!  After coloring, I tried to use as many die cuts as possible.  I ended up using 2 squares, 1 lacey square and 3 circles.  I am never at a lack for using die cuts.  I use my on almost every creation, so I guess you could say that I do get my money's worth out of mine.  I added some chunky glitter to the cupcake icing and popped up the little party hat.  I colored and added red glitter to the number 3.  A great little birthday card for a little boy that is turning 3 tomorrow.

Here is a view of the inside:

**I have a hint for you...I buy most of my embellishments in white or clear and color them to match with my Copics.  I colored the thick white number three with my red marker and then added the glitter.

Recipe:
Stamps - Cupcake Mouse (D2D), Happy2BeCircles (The Stamps of Life). Birthday Greetings (SU!)
Coloring - Copics
Paper - Celebration Stack (DCWV)
Misc - Squares, Lacey Squares, Circles dies (Spellbinders), Black Ink, Glitter (MS), Foam Sticker (EK
Success)

Challenges:
Sweet Stampin' - Anything Goes
Cuddly Buddly - Add a big number or letter
Simply Create - Let's eat some cake
Crafts and Me - Stripes
My Mum's Craft Shop - Boys and Girls
The Paper Shelter - Anything Goes
Simon Says Stamp - Use dies and/or punches
Crafty Sentiments - Happy Birthday
Scrap-Creations - Anything Goes
Top Tip Tuesday - One for the kids
Digi Darla - A Special Treat
Lexi's Creations - Card for a Child
Stamp with Fun - Anything Goes
Stamps & Fun = Creativity - Use Shapes and/or die cuts
There's Magic in the Air - Someone Special
Happy Saturday to you!
~pat~
Pin It

Wednesday, September 21, 2011

Blog Hop Winner and Happy Fall

Congrats to Lottie (http://lottieluvslilac.blogspot.com/)for winning  the $3 Gift Certificate to the Designed2Delight Shop on my D2D/Whipper Snapper Blop Hop post. 

A big THANK YOU to everyone that visited for all the sweet comments.

Today I am in an Autumn mood and couldn't resist using the image, Autumn Harvest again.


Let's see...I believe that I absolutely love everything about this card.  The Autumn colors are my most favorite to create with.  The image...my most favorite right now.  The Leaves EF is my favorite find lately.  The piece of recycled cardboard, the button and some recycled twine that was wrapped around a candle were perfect embellishments.  The sentiment was printed on Kraft card stock and punched out with a tag punch.  I couldn't resist using my picket fence border punch. I hope this card inspires you to create an Autumn card.

Recipe:
Stamps - Autumn Harvest (D2D), Sentiment (Computer generated)
Coloring - Copics
Paper - Kraft and green cardstock
Misc - Square & Lacey Square Dies (Spellbinders), Picket Fence, Tag punches (MS), Leaves EF (The Paper Studio), buttons, cardboard and twine (recycled)

Challenges:
Bearly Mine - Button It Up!
Daisy Doodles - Raise It Up
Heart Song Inspirations - Use the color orange and/or buttons
The Kraft Journal - Welcome Fall
Crafting for all Seasons - Fall Colors
I Brake for Challenges - Fallin for you
Penny's Paper-Crafty - Fall
Scrapbook Sisters - Autumn Colors
Corrosive Challenges - Punches and/or dies
Pile It On - The Colors of Fall
The Squirrel and The Fox - Anything Goes
Allsorts - Alter or Recycle
Crazy 4 Challenges - Something with a pumpkin
Our Daily Bread Designs - Fall colors or theme
Card Makin' Mamas - Punches
Stempelsonne - Brown, Orange & Green
Our Craft Lounge - Color Challenge
Hand Stamped Sentiments - Impress Us
Happy Autumn Day to You! 
~pat~


Pin It
Thanks for visiting!